Showing posts with label Sherman I. Show all posts

Sunday, February 13, 2022

Comparison of Sherman turrets (1/56 scale)

 Here are some overhead views of Warlord and Rubicon Sherman Tanks.

Top to bottom: Rubicon Sherman IC Hybrid, Warlord Sherman VC, Rubicon Sherman I with early turret.

Left to right: Warlord Sherman VC, Rubicon Sherman IC Hybrid.
Top to bottom: Rubicon Sherman I with early turret, Rubicon Sherman IC Hybrid.
Top to bottom: Warlord Sherman VC, Rubicon Sherman IC.


Friday, May 31, 2019

Rubicon M4 - part five

It was pointed out that there was a rather obvious seam line on the right sponson.

It has been filled with Milliput. There has been a small amount of weathering.

Sunday, March 24, 2019

Rubicon M4 Hybrid - part three

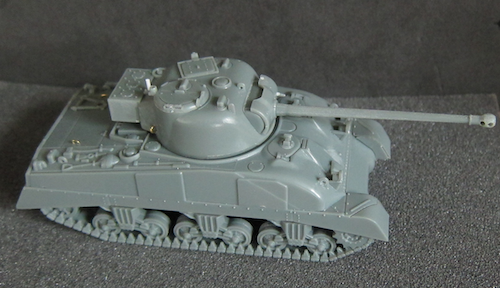
The Rubicon M4 Hybrid Firefly assembled. The darker grey patch is where the pistol port has been filled in (and checked for smoothness by painting it grey.


It is noticeable that the coax machine gun is a bit bent, I will fix that.


I am not going to add a great deal of stowage to this example.

Wednesday, March 20, 2019

Rubicon M4 Hybrid - part two

I have added lifting rings on the turret, blanked off the pistol port, and rotated the engine cover handles through 90 degrees.


Sunday, March 10, 2019

Rubicon M4 Hybrid - part one

At Salute 2018 I bought four of Rubicon's boxed kits. Last month I started work on the M4 Sherman I. This month I started on the Sherman I Hybrid.

 The box is the standard from Rubicon.
The chassis is the same as the M4.
The Hybrid hull comes on a separate sprue, the other three sprues in this photograph are the same as in the M4 kit.
The two turret 75mm sprue.
Instructions and sand shields.


Sunday, March 3, 2019

Rubicon M4 - part four

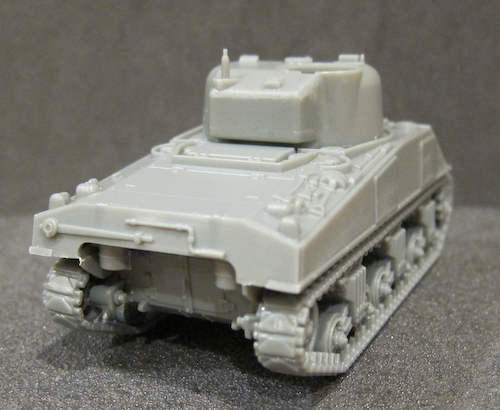
So here is the Rubicon M4 Sherman I base painted and with the decals added.

The decals will have a small amount of "chipping" using Vallejo Russian Uniform Green, This will also remove the rather prominent white line at the top of the 33rd Armoured Brigade's Diablo logo.

I have not been able to work out how the numbering system works on 144 RAC vehicles, the tank numbered 66 in British Tanks In Normandy and the Dennis Oliver book is from B company. I am going to assume that the numbers reset per company.

This tank is number 21 of C company. The font is not quite correct, I have had to use the (US) numbers from the Warlord M4 decal sheet.

The pistol port probably should have been removed (which would have assisted the number positioning).
Nothing has had a wash applied yet.
The spare wheel is rather prominent, it might need some additional mounting clips.

I removed the cubes of square section plastic rod that were holding the tow cable down and superglued the cable into the existing clips.


Thursday, February 14, 2019

Rubicon M4 - part three

There is a photograph of a 144th RAC Sherman with a a road wheel attached to the turret, so one of the spare ones was cemented to some 1.6mm plastic rod.

A length of 1mm rod was passed through holes drilled in the sides of the mudguards. This will be to hold stowage on the glacis.
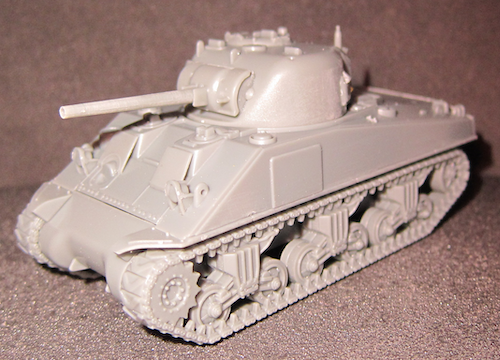
Two holes were drilled in the hull, one on the glacis, the other on the rear deck. 0.4mm brass wire was passed through the holes and secured with superglue and two pairs of square section plastic rod cut into cubes.
Rubicon cable ends from the stowage set was glued over the wire where it went into the hull.
A piece of square section rod had been drilled and passed onto the wire to fix the cable at the front.
The cable was then superglued into the two cable grips on the hull.

Sunday, February 10, 2019

Rubicon M4 Sherman I - part two

So, the tank is basic assembled.

Of course Sherman tanks are very variable, and it would have been a good idea to have done the research before sticking the cheek appliqué armour on.

This tank is going to be painted as a member of 33rd Armoured Brigade, probably 144 Royal Armoured Corp - tactical sign 174.


Lift rings added to the turret using 0.7mm brass rod.

Saturday, February 9, 2019

Rubicon M4 Sherman I

Back in April 2018 I bought four of Rubicon's kits. Due to a combination of events, I had not got round to building any of them (the Warlord Sherman V took two years!).

The kit comes in the traditional Rubicon box (which always feels a bit soft).
The kit comes with their illustrated instruction sheet and two sets of decals.
There are two large sprues (lower chassis and two turrets).  Two smaller sprues have the rear of the hull for the various types of M4.


There is a small sprue for the crew (US and British) and a sprue with the skirts, hood appliqué and transmission cover.
The chassis goes together well, it is a lot more complicated than the Warlord kit, the bogies have the front moulded with the tracks, the backs of the bogies are individual mouldings.
Like the new M4A3, the hull and the chassis can be kept separate for painting.
 The turret needs to be smoothed a bit at the back before I continue with the turret fittings and the gun.