The previous build of the Blotz Spawning Pool was for Ghost Archipelago. This one is for Frostgrave.
Skeletons move past the crumbling ceremonial pool, not caring what might have dislodged the stones...
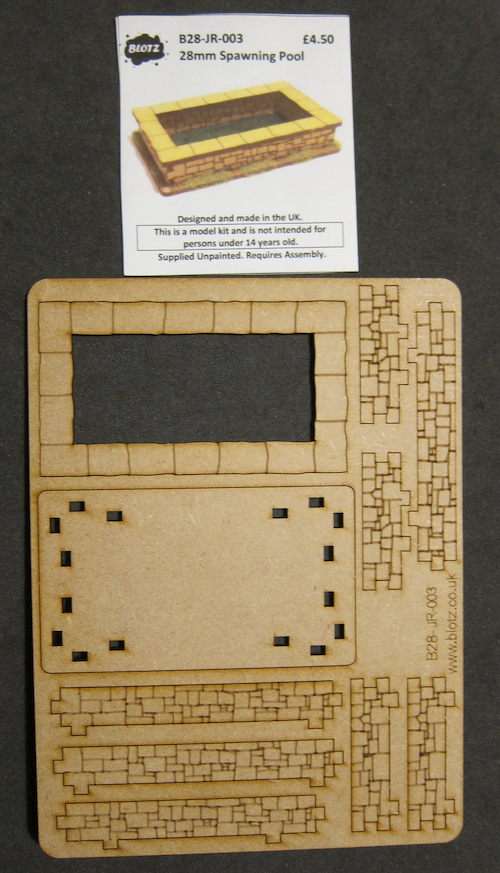
The Blotz 28mm Spawning Pool comes as one medium sized sheet of MDF. It has gone up £1.00 since I bought the last one, also at SELWG.
I decided this should have a story to it. I decided that it would still be full of frozen water, perhaps with broken ice indicating Something had emerged from the inky depths.
To do that, before assembling the pieces, I used a razor saw to cut one corner off of the cap stones piece that make up the top of the walls, separating the two stones. I also cut away some of the stones that would have been beneath the capstones.
This time I had less difficulty assembling the inner and outer walls, I cannot see any difference in the layout, maybe I was paying more attention.
The edges of the cap stones were bevelled with a file to show age and wear.
Once the main part was assembled, I took a suitably sized
Products for Wargamers Scatter MDF base and bevelled the edges with a file (a round file makes a more natural looking slope). The body of the pool was then glued on top, with sufficient surrounding space to add some additional flag stone fragments made from bits of MDF. The pieces of MDF removed from the walls was then added on top, together with the two separate cap stones.
Oathmark skeletons move past the pool, their unlike not disturbing any lurkers.
Detail of the stones, was it the movement of the ice within, or has something escaped the frozen pool?
Oathmark Goblin explores the ruins.
Top view of the pool.
Between the flagstones and on the other parts of the exposed base, Woodland Scenics cinder ballast was sprinkled over PVA glue.
The whole thing was first sprayed with Halford's Grey Primer, followed by Citadel Chaos Black spray. The whole thing was then brush painted with watered down Army Painter black paint to seal the PVA and fill in where the spray might have missed.
The stones were dry brushed first with a mix of Vallejo Black Grey and Army painter Black, followed by lighter dry brushing of Black Grey, then Black Grey mixed with Vallejo London grey and finally a dry brush of Citadel terminates Stone.
It was then washed with Citadel Nuln Oil.
The pool itself has still to be painted.


